Friday, 12 July 2019

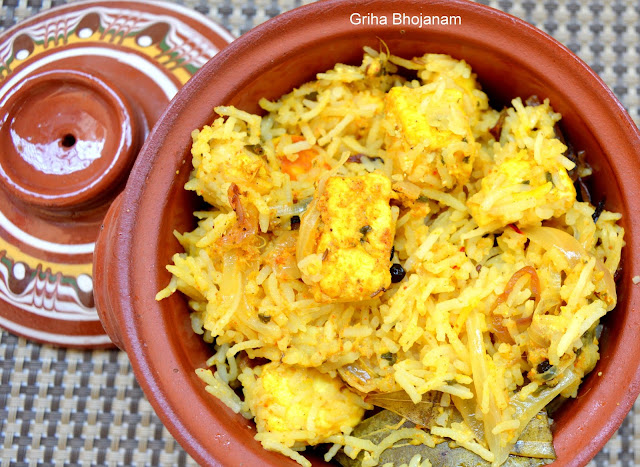
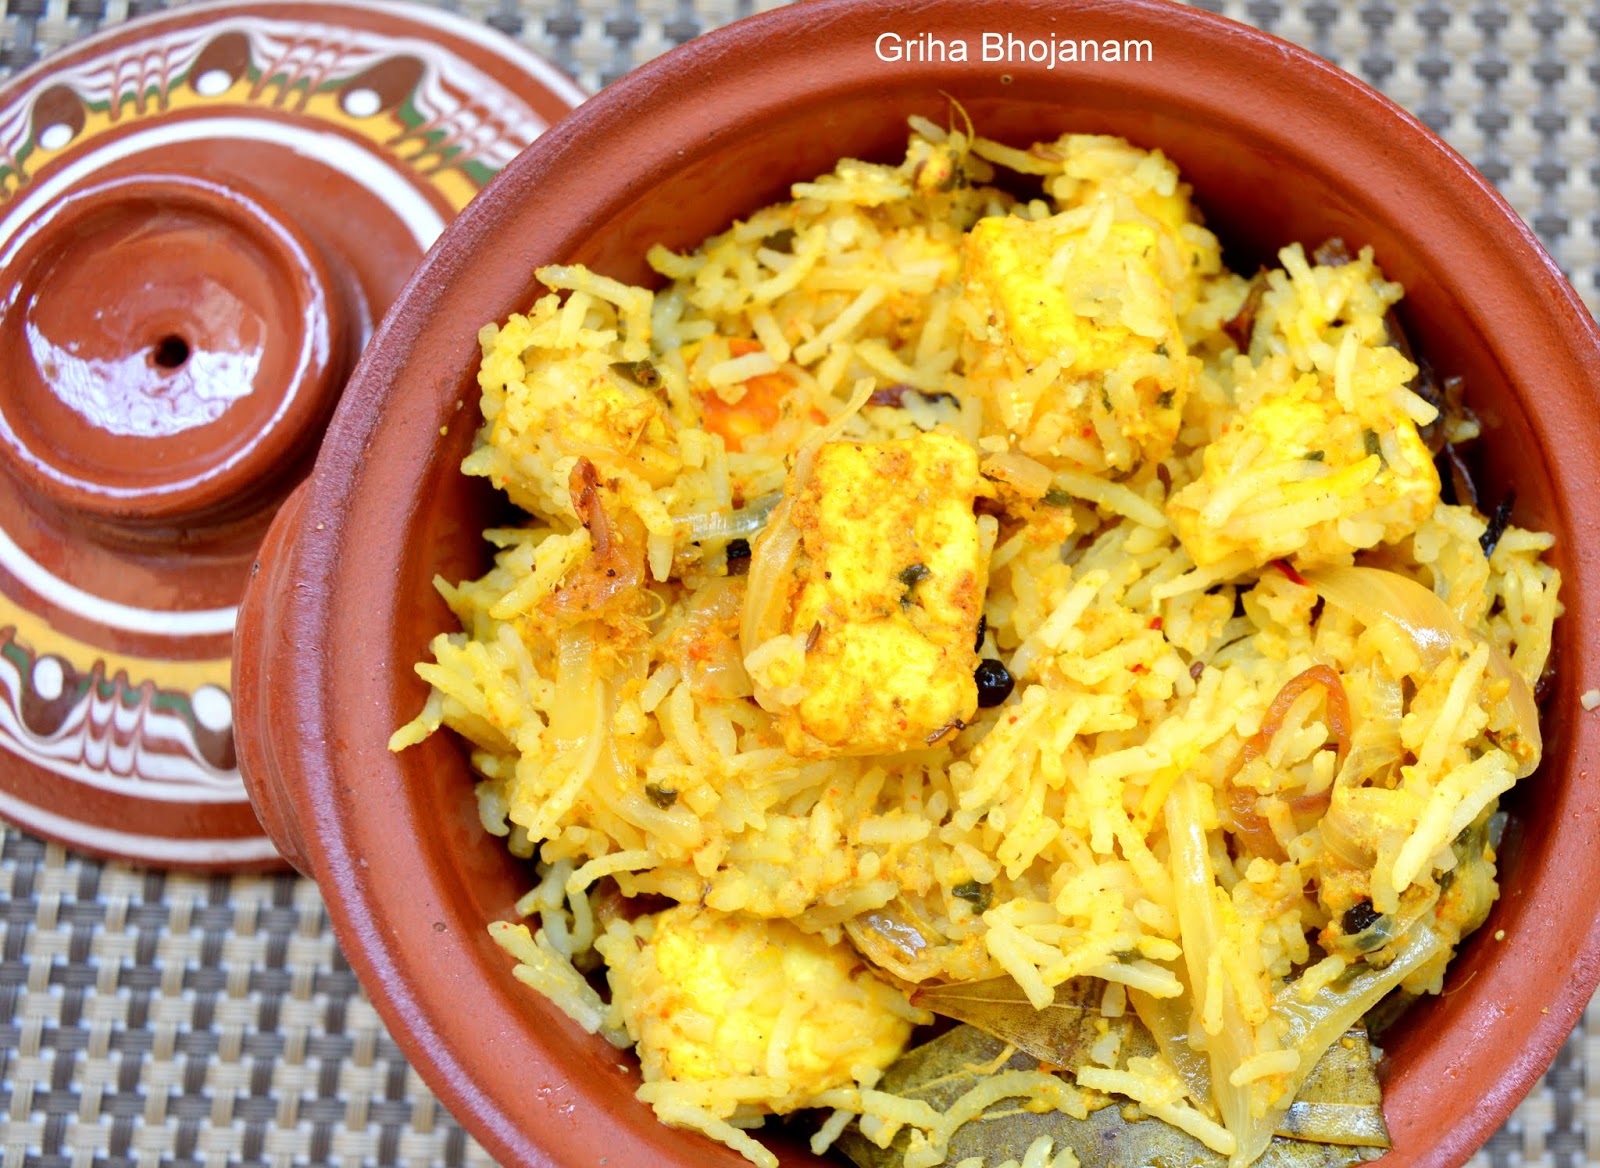
Methi Chaman Briyani (Paneer Methi Briyani)

Another interesting recipe from the masterchef Venkatesh Bhat from his briyani special episode (Watch the full episode here) which I tried for a sunday lunch. I have always been a big fan of him and I still have plenty of recipes from his collections yet to be tried. Never knew Briyanis can be made in so many different variations with different ingredients and flavours. He comes out with varied briyani varieties, that too vegetarian :):)

This is one such vegetarian briyani recipe, that uses juicy paneer(cottage cheese) and Methi. This aroma of Methi is the punch for this recipe. Hence, I do not add coriander or pudhina to this briyani as it might overshadow the significant aroma of Methi leaves.

This is my favourite combo and making this into briyani was really exciting. Let's quickly check out the recipe for this mild, aromatic and flavourful chunky Briyanis.


Ingredients

  1. Fresh fenugreek leaves (methi) - 1/2 small bunch
  2. Paneer (cottage cheese) - 200 gms (cut into cubes)
  3. Basmati Briyani Rice - 1.5 cups
  4. Saffron (kesar) - 6-7 strands
  5. Milk - 1/2 cup
  6. Ghee - 3 tablespoons
  7. Onions - 3 large (Thinly sliced)
  8. Green chillies - 2 slit
  9. Fried onions - 1/2 cup
  10. Ginger garlic paste - 1 tbsp
  11. Salt - 1.5 tsp

Masala Ingredients

  1. Green cardamoms - 2
  2. Black cardamom - 1
  3. Cloves - 3-4
  4. Cinnamon -1 inch stick
  5. Bay Leaf - 1
  6. Black peppercorns - 5-6

For Marination

  1. Thick Yogurt - 1 Cup
  2. Turmeric powder - 1 tsp
  3. Ginger Garlic Paste - 2 tbsp
  4. Coriander powder - 2 tbsp
  5. Roasted Cumin powder - 1 tbsp
  6. Red chilli powder - 1 tsp
  7. Garam masala powder - 2 tsp
  8. Needed Salt


Method

Marinating the Paneer

1. Marinate the paneer cubes with ingredients listed under "Marination". Let the paneer cubes remain soaked in the marinated yogurt mixture for half hour. This helps all the flavours to be absorbed inside the paneer and also helps it become soft.


Paneer cubes marinated in yogurt and spices

Cooking the Basmati Rice

2. Wash the Basmati Rice 2 times well for the excess starch to get rinsed off. Boil the basmati rice with a tbsp of ghee ,enough water and 1.5 tsp of salt till it is cooked about 90 percent. Drain the rice and keep it aside for dum cooking with the gravy. You can feel it by breaking the rice. 


90 percent Cooked Basmati Rice

Preparing Methi Paneer Gravy

3. Discard the roots of the methi leaves. Chop the leaves and tender stem part finely. Wash them thoroughly to get rid of mud and the bitter taste.

4. Heat a heavy bottomed pan, add ghee and all ingredients under "Masala". Add Onions,green chili and ginger garlic paste. Saute well until the onions are cooked and become translucent.

5. Add the marinated paneer, methi leaves and fried onions and mix well. Add needed amount of salt after checking. Cook the mixture on low flame for about 10 mins.

Preparing the Methi paneer gravy

Layering of Briyani

1. Soak strands of saffron in 1/2 cup of warm milk overnight or for about half hour.


Saffron soaked milk


2. Take a big heavy bottomed pan/cooker for dum cooking.

3. Layer the Methi Paneer gravy first. Add the remaining rice on top of the gravy as second 

layer.


Layering of Paneer Methi Masala


4. Sprinkle the saffron + milk all over the rice as shown in the picture.


Layering of rice topped with Saffron milk


Dum cooking

5. Place a Dosa Tawa on flame. Transfer the dum cooking handi/pressure cooker pan to dosa tawa and cover the pan tightly so that no heat escapes.( as shown below)

6. Cook for about 15 mins on low flame with the pan fully sealed.


7. Methi Chaman Briyani is all ready and piping hot to be served along with any raita of your choice :)


Wednesday, 3 July 2019

Sprouted Green Moong and Vegetable salad

A healthy, protein rich nutritious salad that has all the flavours balanced perfectly. This can make a great evening snack or a satisfying breakfast. My mother often makes this and pack it for my lunch. Just love the way she prepares this. 

This also has goodness of all raw vegetables thereby increasing the fiber content. A delectable tasty salad that is absolutely sin free and satiates your hunger instantly keeping you full for long time. I have described in details about how to sprout green gram here. This is an ideal salad for weight loss and people who are trying to build muscles.


Serves:4 small bowls

Ingredients

  1. Sprouted green gram-2 cups
  2. Onions - 1 medium sized
  3. Banglore Tomatoes - 1 big/medium sized
  4. Carrot- 1 small/medium sized
  5. Capsicum - 1/4 cup (chopped)
  6. Cucumber - 1/2 cup (chopped)
  7. Baby corn - 4 (sliced round round)
  8. Green Chili - 1 finely chopped (optional)
  9. Pomegranate pearls - 3 tbsp
  10. Red chili powder-1/4 tsp
  11. Chat Masala Powder - 1 tsp
  12. Cumin powder - 3/4 tsp
  13. Lemon Juice - 1 tsp
  14. Salt as needed
  15. Black salt as needed
  16. Coriander for garnishing


Method

1. Mix all the ingredients mentioned under ingredient list in a mixing bowl,

2. Garnish with some fresh coriander leaves and serve fresh.


How to sprout green gram

I used to buy sprouts every time from market until I realized that this can be made at home very easily. The sprouting process increases nutrient levels, making sprouts richer in protein, folate, magnesium, phosphorus, manganese and vitamins C and K than unsprouted plants. These sprouted green gram can be stored for a week in freeze/ fridge and can be used for salads, dosa and various dishes.


Method

1. Was and soak the raw green gram in water for about 12 hours.

2. Drain the green gram completely. Store them in a hotpack with lid closed for another 12 hours.Alternatively, you can cover and tie the green gram in a muslin cloth and leave them overnight.

3. After 12 hours, you can find the sprouts germinated. :)


Tuesday, 2 July 2019

Momo Chutney

Momos are nothing without their pair- those drooling spicy Momo Chutney. When these momos are dipped in spicy hot momo chutney, the taste is sure to sizzle your tongue with exotic taste. Let's look into the preparation of momo chutney.


Serves:3

Ingredients

To Grind


  1. Tomatoes - 3 big chopped
  2. Dry Red Chilies - 6
  3. Garlic - 5 cloves
  4. Soy Sauce - 1 tsp
  5. Water as needed for grinding

For Sauteing

  1. Sesame oil - 3 tbsp
  2. Sugar - 1 tsp
  3. Salt to taste


Method

1. Grind all ingredients listed under "To Grind" in a mixer with required water to a paste.

2. Heat a thick bottomed pan, add sesame oil and the ground mixture to the pan. Saute the chutney on a low flame for about 7 mins for the raw flavour of garlic and tomato to go off.

3. Add salt and sugar and mix well. The oil separates from chutney after 7 mins of cooking. This is the right time to switch off the flame. Transfer the chutney to a mini bowl.

4. Serve the piping hot Momos with this spicy hot chutney.


Thursday, 13 June 2019

Malai Kofta

A royal,delicious and a very famous menu in every restaurant. These succulent juicy kofta immersed in rich creamy gravy is sure to leave your mouth watering. Malai means cream, in other words richness or royal. This combines everything that is rich like cashews, fresh cream and paneer as main ingredients.You can make this either as a white gravy completely by ignoring tomatoes as well.However, I have used tomatoes as I had some fresh tomatoes in stock with me. Either way, this will taste awesome. This is a mildly sweet gravy very similar to paneer butter masala.This goes very well with Butter Naan or any other Indian Breads. Learn to make this simple easy recipe at home without much fuss.


Ingredients

Base Onion Tomato Gravy

  1. Onions - 3(Big)
  2. Banglore Tomatoes - 2 (Big)
  3. Cashew Nuts - 12-15
  4. Poppy seeds/Khus Khus - 2 tbsp
  5. Green Chili - 2 small or 1 big
  6. Water - 2 cups


Kofta

  1. Paneer - 200 gms (Grated)
  2. Raisins - 2 tbsp
  3. Cashews - 2 tbsp (chopped)
  4. Potato - 3 big(boiled, peeled and smashed)
  5. Needed Salt
  6. Corn flour - 2 tbsp (for binding)
  7. Maida/All purpose flour - Dusting
  8. Oil for deep frying

Other Ingredients

  1. Butter - 2 tbsp
  2. Bay leaf - 1
  3. Green Cardamon - 2
  4. Cloves - 2
  5. Pepper powder - 1 tsp
  6. Ginger garlic paste - 1 tsp
  7. Coriander powder - 1 tsp
  8. Turmeric powder - 1/2 tsp
  9. Garam Masala Powder - 1/2 tsp
  10. Needed salt
  11. Sugar - 3 tsp
  12. Fresh Cream - 2 tbsp
  13. Kasuri Methi (crushed) - 1 tsp

Method

Gravy Preparation

1. Boil all ingredients under "Gravy" for about 5 mins. The skin of tomatoes come off. Once the contents are cooled, blanch the tomatoes. ( see more on blanching tomatoes).


2. Grind the contents to a smooth paste.

3. Heat butter in a pan, add bay leaf, cloves and cardamom and saute well.

4. Add ginger garlic paste and saute well for the raw flavor to go off.

5. Add the ground gravy mixture to the pan and saute well.


6. Add all the powders mentioned in other ingredients and needed salt to saute well.

7. Cover the lid and allow it to simmer for 10 mins.

8. After 10 mins, the gravy would have cooked well and the raw taste would have gone completely.

9. Mix well and add needed water (if gravy has become too thick).

10. Add sugar and fresh cream and give it a good stir.

11. Add some crushed kasuri Methi and switch off the flame.


Kofta preparation

1. Mix mashed aloo,grated paneer and corn flour together. Combine well so that the contents mix homogeneously.


2. Add green chili, cashew bites and raisins and combine well as shown in the pic.

3. Form cylindrical shape koftas with hand and dust them evenly in maida flour. The koftas should be uniformly coated well with flour.


4. Deep fry them in hot oil till the koftas turn golden brown. ensure the flame is medium so that the koftas do not turn black immediately.

5. Keep the koftas aside.


Assembling

1. On a plate, gently pour a ladle of the creamy gravy. Place the koftas above it.

2. Garnish with beaten fresh cream and serve them hot with Butter Naan or any other Indian Breads.


Notes,Tips & Add-On's

  1. Presence of cashew makes the gravy thick. You can adjust water accordingly to make it  a creamy consistency.Make sure you don't add much.
  2. Dusting the koftas helps in uniform covering of koftas. While frying, it gives uniform coloring.


Thursday, 25 April 2019

Kabuli Channa Salad (Black Channa Salad)

Black channa is definitely a healthy option when compared to white channa due to presence of high fiber in it. Presence of high fibre helps you keep satiated for long hours. Also, helps in bowel movement and indirectly in weight reduction. Low in carb, absolutely vegan,no fat and high protein and fibre makes this an ideal snack for weight loss. A complete sin-free and tasty indulgence.


Serves:2

Ingredients


  1. Uncooked Black chana/chickpeas - 1 cup
  2. Onions - 1 small/medium sized
  3. Banglore Tomatoes - 1 big/medium sized
  4. Carrot- 1/4 cup chopped
  5. Capsicum - 1/4 cup (chopped)
  6. Cucumber - 1/4 cup (chopped)
  7. Raw mango - 1/4 cup (chopped)
  8. Red chili powder-1/2 tsp
  9. Chat Masala Powder - 1 tsp
  10. Cumin powder - 3/4 tsp
  11. Lemon Juice - 1 tsp
  12. Crushed Mint leaves - few
  13. Salt as needed
  14. Black salt as needed

Method

1. Soak the channa overnight for about 8-9 hours.

2. Pressure cook channa with 2 tsp salt and enough water for 7 whistles.

3. Drain the cooked chickpeas/channa.

4. Mix all the ingredients mentioned along with black channa. Crushed pudhina leaves add nice aroma and flavour to this salad.

5. Enjoy snacking this healthy salad.


Tuesday, 9 April 2019

Dal Methi Soup - Vendhayakeerai Soup

This is a very healthy and nutritious soup that can be given to lactating mothers and toddlers as well. Fenugreek leaves are known to boost milk production for breastfeeding mothers. This is absolutely kids friendly. I gave this to my son and he simply loved this soup.
Due to the inherent bitter taste that it posses, it is highly good for Diabetic patients. It also lowers cholesterol, increases blood circulation thereby giving a good skin. The advantages are numerous and goes on...:)

Methi/Fenugreek leaves can be used in different forms like for paratha, gravy, Pulao etc. I will soon post more recipes on Methi/Fenugreek.


Ingredients


Serves:3 bowls

Ingredients

  1. Fenugreek leaves - 1 cup tightly packed
  2. Butter/Oil/Ghee - 1 tbsp
  3. Yellow Moong Dal - 3 tbsp
  4. Tomato- 1 Big (chopped)
  5. Onion - 1 medium size (chopped)
  6. Garlic Pods - 3
  7. Pepper powder - 1 tsp
  8. Salt as per taste

Method

1. Rinse the fenugreek leaves well and strain them.

2. Heat some oil in a pressure pan, add onions and garlic and saute well until it becomes transparent.

3. Add fenugreek leaves, moong dal and tomatoes and saute for about 2 mins on low flame.

4. Add 2 cups of water and pressure cook for 3 whistles.

5. Let the pressure release, allow the contents to cool down and then grind the contents in a mixer. Adjust adding water depending on the consistency required.

6. Heat the ground mixture in a pan with needed salt and pepper.

7. Dal Methi Soup is ready to be consumed hot.


Sauteing

Pressure cook

Notes,Tips & Add-On's

1. I have not ground the the contents in a mixer. Instead, I have just smashed the contents after pressure cook and added water to adjust the consistency.

2. If you are giving it for kids,  grind the contents in a mixer and then give.